How to Disable HP Cartridge Protection on Your Printer?
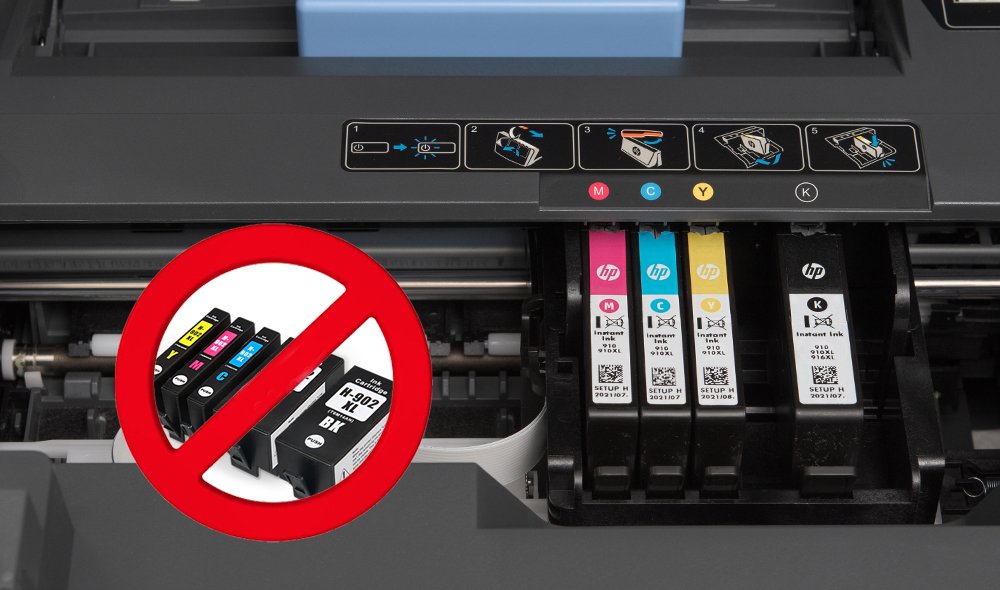
HP has introduced so-called cartridge protection settings on its original ink cartridges. The system locks the original cartridges in a specific printer, so you won't be able to use them on other printers. If you have an HP Officejet Pro 6978 all in one printer and decide to purchase an Officejet Pro 6968 all in one printer which uses the same Ink Cartridges - HP 902 and HP 902XL ink cartridges, it will not work for the ink to use in the new printer. In addition, you will not be able to refill, recycle or use third-party compatible ink cartridges after the original ink cartridge runs out of, because HP and its ink cartridge protection system do not allow this.

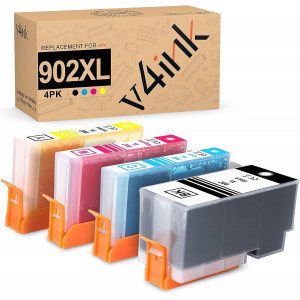
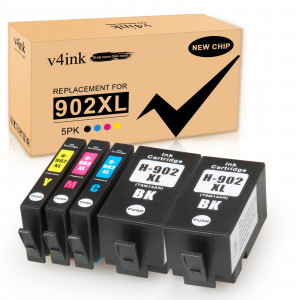
Fortunately, there is a way to disable HP cartridge protection and make compatible ink cartridges work on your printer. What's more, even if you don't have any technical knowledge, you can do it yourself relatively easily.
How to Disable HP Cartridge Protection?
You can disable HP cartridge protection on the printer in a few simple steps.
If your printer does not come with an Internet feature, please follow the steps below:
Step 1: Choose printer settings on the printer menu
Step 2: Find options that allow you to disable HP cartridge protection.
Step 3: Select the disable option.
Step 4: If necessary, click apply and save.
If your HP printer come with Internet feature, please perform the following steps:
Step 1: Open a web browser and enter the IP address of your HP printer on the search line.
Note: you can find the IP address of the printer through the following methods: Select the "printer settings", and then go into the "network settings" option.
Step 2: The embedded web server of the printer opens. Go to settings, then go to HP cartridge protection.
Step 3: Select disable HP cartridge protection
Step 4: Click on Apply or Save.
Disable HP cartridge protection from Windows PC:
Step 1: Go to the control panel and select the printer and device.
Step 2: Find the printer in the list and right-click.
Step 3: Select "properties" and "software" tab in turn.
Step 4: Un-tick "automatically update" printer.
Related Products
-
entry_color
-
825 pagesentry_pageyield
-
text_freeentry_shipping
-
48 HRsentry_delivery
-
text_compatible_printersOfficeJet 6954 All-in-One, OfficeJet 6960 All-in-One, OfficeJet 6962 All-in-One, OfficeJet Pro 6960 All-in-One, OfficeJet Pro 6968 All-in-One, OfficeJet Pro 6975 All-in-One, OfficeJet Pro 6978 All-in-One, OfficeJet 6950 All-in-One, OfficeJet 6951 All-in-One, OfficeJet 6956 All-in-One, OfficeJet 6958 All-in-One, OfficeJet 6961 All-in-One, OfficeJet 6963 All-in-One, OfficeJet 6966 All-in-One, OfficeJet Pro 6970 All-in-One, OfficeJet Pro 6971 All-in-One, OfficeJet Pro 6974 All-in-One, OfficeJet Pro 6976 All-in-One, OfficeJet Pro 6979 All-in-One OfficeJet 6964 All-in-One
-
entry_color
-
825 pagesentry_pageyield
-
text_freeentry_shipping
-
48 HRsentry_delivery
-
text_compatible_printersOfficeJet 6954 All-in-One, OfficeJet 6960 All-in-One, OfficeJet 6962 All-in-One, OfficeJet Pro 6960 All-in-One, OfficeJet Pro 6968 All-in-One, OfficeJet Pro 6975 All-in-One, OfficeJet Pro 6978 All-in-One, OfficeJet 6950 All-in-One, OfficeJet 6951 All-in-One, OfficeJet 6956 All-in-One, OfficeJet 6958 All-in-One, OfficeJet 6961 All-in-One, OfficeJet 6963 All-in-One, OfficeJet 6966 All-in-One, OfficeJet Pro 6970 All-in-One, OfficeJet Pro 6971 All-in-One, OfficeJet Pro 6974 All-in-One, OfficeJet Pro 6976 All-in-One, OfficeJet Pro 6979 All-in-One OfficeJet 6964 All-in-One


