How to clean and store your Laser Printer and Toner Cartridges?

Clean the outside and inside of the Laser printer and printer cartridge regularly can prolong the service life of the printer, maximize the value of the toner cartridge and get better printing effect. So, how do we clean and store the Laser printer and toner cartridge? Let’s jump in!
Before doing the cleaning, you must notes that: Do not use cleaning materials that contain ammonia, alcohol, any type of spray, or any type of flammable substance to clean the outside or inside of the Laser printer. Otherwise, it may cause a fire or electrical shock.

Reading Guide:
- Clean the outside of the Laser printer
- Clean the inside of the Laser printer
- Clean the corona wire of the drum unit
- Clean the paper pick-up roller
- Storage of the toner cartridges and drum units
Clean the outside of the Laser printer
Step 1 - Turn off your Laser Printer and unplug the power cord from the AC power socket.
Step 2 - Pull the paper tray completely out of the printer.
Step 3 - Wipe the outside of the printer with a dry, lint-free cloth to remove dust.

Clean the inside of the Laser printer?
Step 1 - Take out all the paper and any other things which stuck inside from the paper tray.
Step 2 - Wipe the inside of the paper tray with a dry, lint-free cloth to remove dust.

Step 3 - Put the paper tray back into the printer.
Step 4 - Plug the printer power cord back into the AC power outlet first, and then reconnect all cables. Turn on the printer’s power switch.
Clean the corona wire of the drum unit
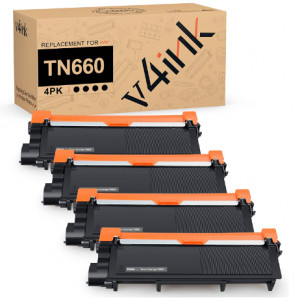
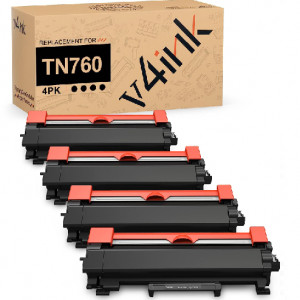
If you use the consumables of drum unit and toner cartridge separation structure, such as TN660 and TN760, and encounter the problem of poor printing effect when printing, cleaning the corona wire of the drum unit may help you solve this problem.
Step 1 - Open the front cover of the printer and leave the printer at least 10 minutes to cool down.

Step 2 - Take out the toner cartridge and drum unit assembly. We recommend that you put the toner cartridge and drum unit on a disposable paper or soft cloth to prevent toner overflow or leakage.

Step 3 - Slide the green or blue tab from right to left and left to right across the drum unit 6-8 times. (Tips: Remember to put the green or blue tab back to the home position. If not, printed pages may have a vertical stripe.)

Step 4 - Put the toner cartridges and drum units back into the printer and close the front cover.

Clean the paper pick-up roller of the printer
If the pick-up roller is dirty, the printer may not feed paper. In this case, you need to clean the paper pick-up roller.
Step 1 - Turn off your Laser Printer and unplug the power cord from the AC power socket.
Step 2 - Pull the paper tray out of the printer.
Step 3 - Take out all the paper and any other things which stuck inside from the paper tray.
Step 4 - Wet and wring the lint-free cloth, then wipe the partition on the paper tray to remove any dust.

Step 5 - Wipe the two paper pick-up rollers inside the printer.

Step 6 - Put the paper back in the paper tray.
Step 7 - Put the paper tray into the printer.
Step 8 - Plug the printer power cord back into the AC power outlet first, and then reconnect all cables. Turn on the printer’s power switch.
Storage of printer cartridges and drum units
Printer cartridges and drum units usually do not expire, but they must be stored properly. They need to be stored properly to reduce the risk of damage and ensure excellent performance. In terms of toner cartridge storage, the three main keys are light, heat and moisture.
Exposure to light will eliminate the photosensitive properties of the toner cartridge.
Exposure to high temperatures can cause toner to melt in the cartridge.
Exposure to moisture can cause toner caking.
Therefore, how do we store printer cartridges and drum unit?
1. Store at room temperature. The Toner cartridges should be stored in a room at 60-75 degrees Fahrenheit. Anything above or below this temperature is either too cold or too hot.
2. Keep the toner cartridge dry. The toner cartridge should not be exposed to the humid environment in any form. 50% relative humidity is ideal for storing toner cartridges. Avoid storing in wet basement.
3. Keep the toner cartridge in its original packaging. Store the toner cartridge in its original packaging to ensure that the toner cartridge does not come into contact with any dust or debris.
4. Keep away from strong light. Avoid exposing the toner cartridge to sunlight or any other bright light. For safety reasons, it is recommended that the lights in the room where they are stored be turned off at all times or as far as possible under ideal circumstances. The drum unit is particularly sensitive to light, so this is particularly important if your toner cartridge is used in conjunction with the drum.
5. Avoid using gaseous cleaning materials. Do not store toner cartridges in closets or cabinets close to gaseous cleaning materials such as ammonia.


