Troubleshooting for Brother toner cartridge not detected
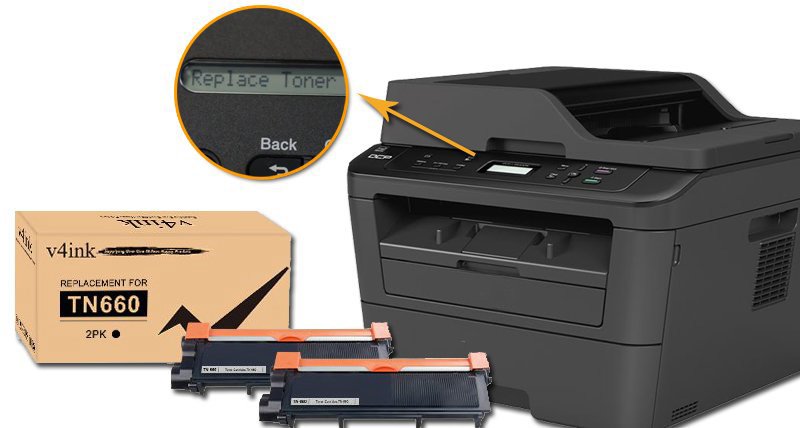
Have you ever encountered that when you just install a new Brother toner cartridge into your printer, but the printer still show “replace toner cartridge”. At this point, you will think that there must be some problem with the toner cartridge. In fact. A few simple steps can help you clear the error message.
Before you read this article, please note that these instructions are for the drum unit and toner cartridge separation structure.
Reading Guide:
- Are you using the correct cartridges for your printer?
- Are your toner cartridge and drum unit are properly installed together?
- Are the cartridge installed in the correct slot?
- Have you remove all protective cover or tape?
- How to reset the toner cartridge?
- How to clean the chip of the toner cartridge?
- How to clean the corona wire of the drum unit?
Let’s go ahead!
Are you using the correct cartridges for your printer?
When your Brother toner cartridge can not detected by the printer, or when the “replace toner cartridge” error message displays on your printer, the first thing you have to do is to check whether you using the correct cartridge for your printer.
Different printers have corresponding toner cartridge models. If you install the wrong toner cartridge, the printer will not recognize it.
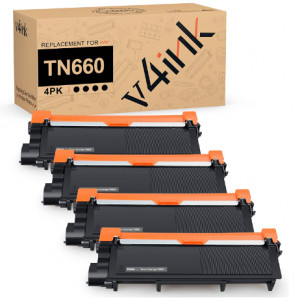
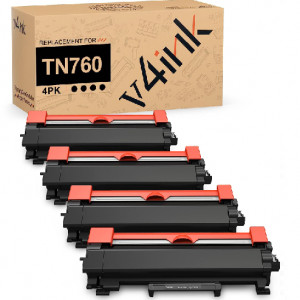
For example, if you use HP HL-L2300D Printer, which corresponding toner cartridge is TN660, but you installed the TN760 toner cartridge, so your printer will show you the error message.
How to check whether the toner cartridge you ordered is compatible for your printer?
Firstly - Before you buy the replacement toner cartridge, you must understand the correct toner model for your printer to avoid this mistake.
Secondly - Check the model label on the toner cartridge to make sure it is compatible with your printer.
Thirdly - Search the “toner model” or “printer model” on v4ink.com to find out the corresponding printer or toner cartridge.
Are your toner cartridge and drum unit are properly installed together?
If you are getting an error message, please check to make sure that the toner cartridge and drum unit are properly installed.
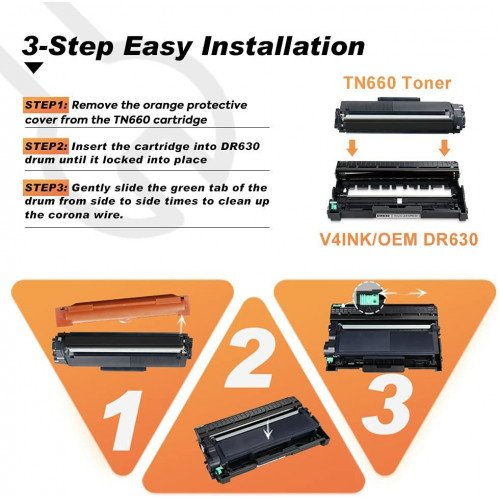
The toner cartridge should click securely into the drum unit and the two components should be connected together in piece before installation.
Then, slide and install thees secured components together into the printer.
Are the cartridge installed in the correct slot?
A black toner cartridge installed in a color slot will say not recognised.
For color printers, you should ensure that four color cartridges are installed in the correct slot.
Take all the cartridges out of the printer and double check they were in the correct color slots. If not, reinstall them and restart on to reset the system.
Have you remove all protective cover or tape?
Before installing a new toner cartridge, you need to remove all plastic cover and tape which is to protect it during transportation.
Most Brother toner cartridge come with an orange plastic cover, just like the picture below:
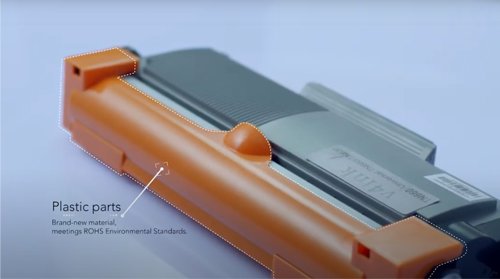
If you haven’t removed protective covers or plastic strips that are attached to a new cartridge when you first take it out of its packaging, the printer will fail to register the new cartridge and this will cause problems.
Take the cartridge out of your printer and make sure all strips, tabs or plastic covers are removed before installing the cartridge again.
How to reset the toner cartridge?
If the above problem has been eliminated, but your printer still can not detected the toner cartridge, please check the reset gear of the toner cartridge.
The reset gear on the wrong position could give this error message. Try to reset the toner will help you solve this problem.
How to reset v4ink TN660 toner cartridge? You can follow the video step by step to reset your toner cartridge:
If the gear of your TN660 is different from the one in the video, please contact us for help.
How to clean the chip of the toner cartridge?
Some toner cartridges are equipped with a chip (e,g, Brother TN760), which is the most sensitive part of the toner cartridge. Generally, our fingers can not touch the chip, because when the dust or fingerprint oil get on the chip it can cause a faulty reading on your printer.
When your printer can not read your new toner cartridge (with chip). You can fix up through the operations below:
Step1 - Power down and unplug your printer.
Step2 - Carefully remove your toner cartridge and place to one side on a flat surface where it will be safe.
Step3 - Inspect the cartridge for the chip with metal contacts.
Step4 - Inspect the inside of the printer for the connection point.
Step5 - With a lint free / dry cloth lightly wipe the contacts on both cartridges and printer to remove any dirt, or residue being careful not to cause any damage.
Step6 - Replace the toner cartridges in the printer
Step7 - Power the printer back on.
Step8 - Try to print again.
This should now fix any issues may be caused by dirty chips or microchips
How to clean the corona wire of the drum unit?
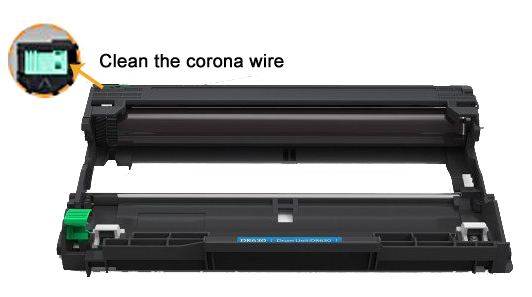
If everything is installed correctly and you are still getting a drum error message on your machine, you may need to clean the corona wire on the drum unit. To clear this error, slide the green or blue tab back and forth across the drum unit 6-8 times, then return the tab back to its original position and try printing again.
